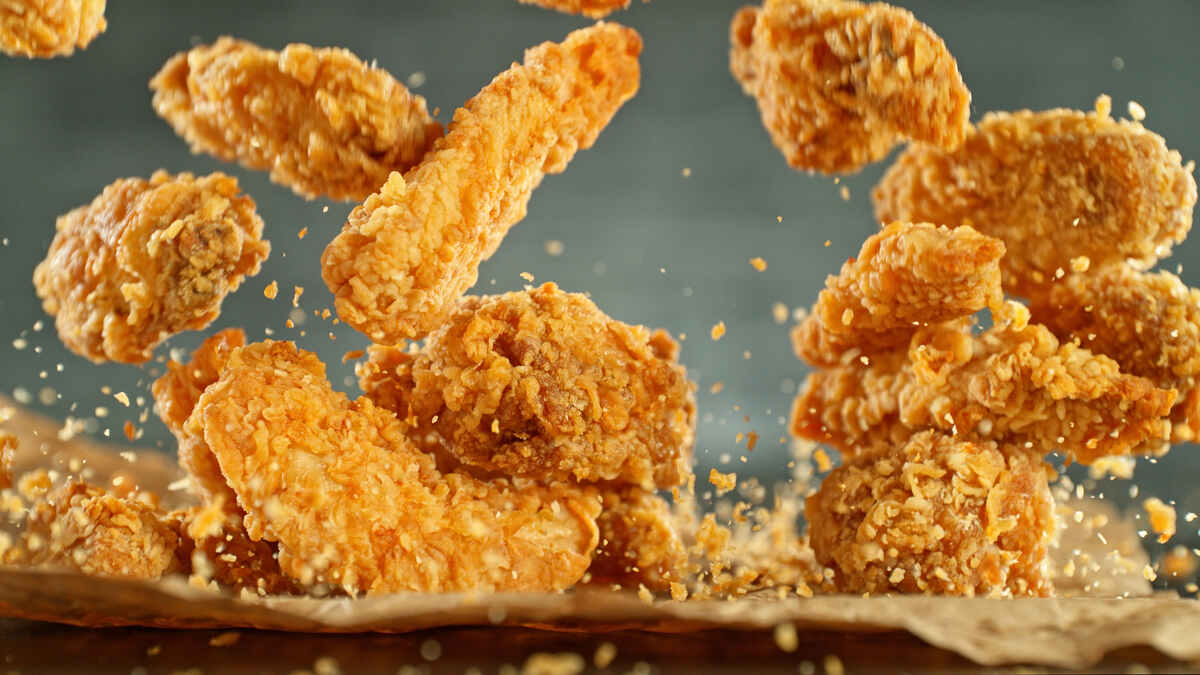
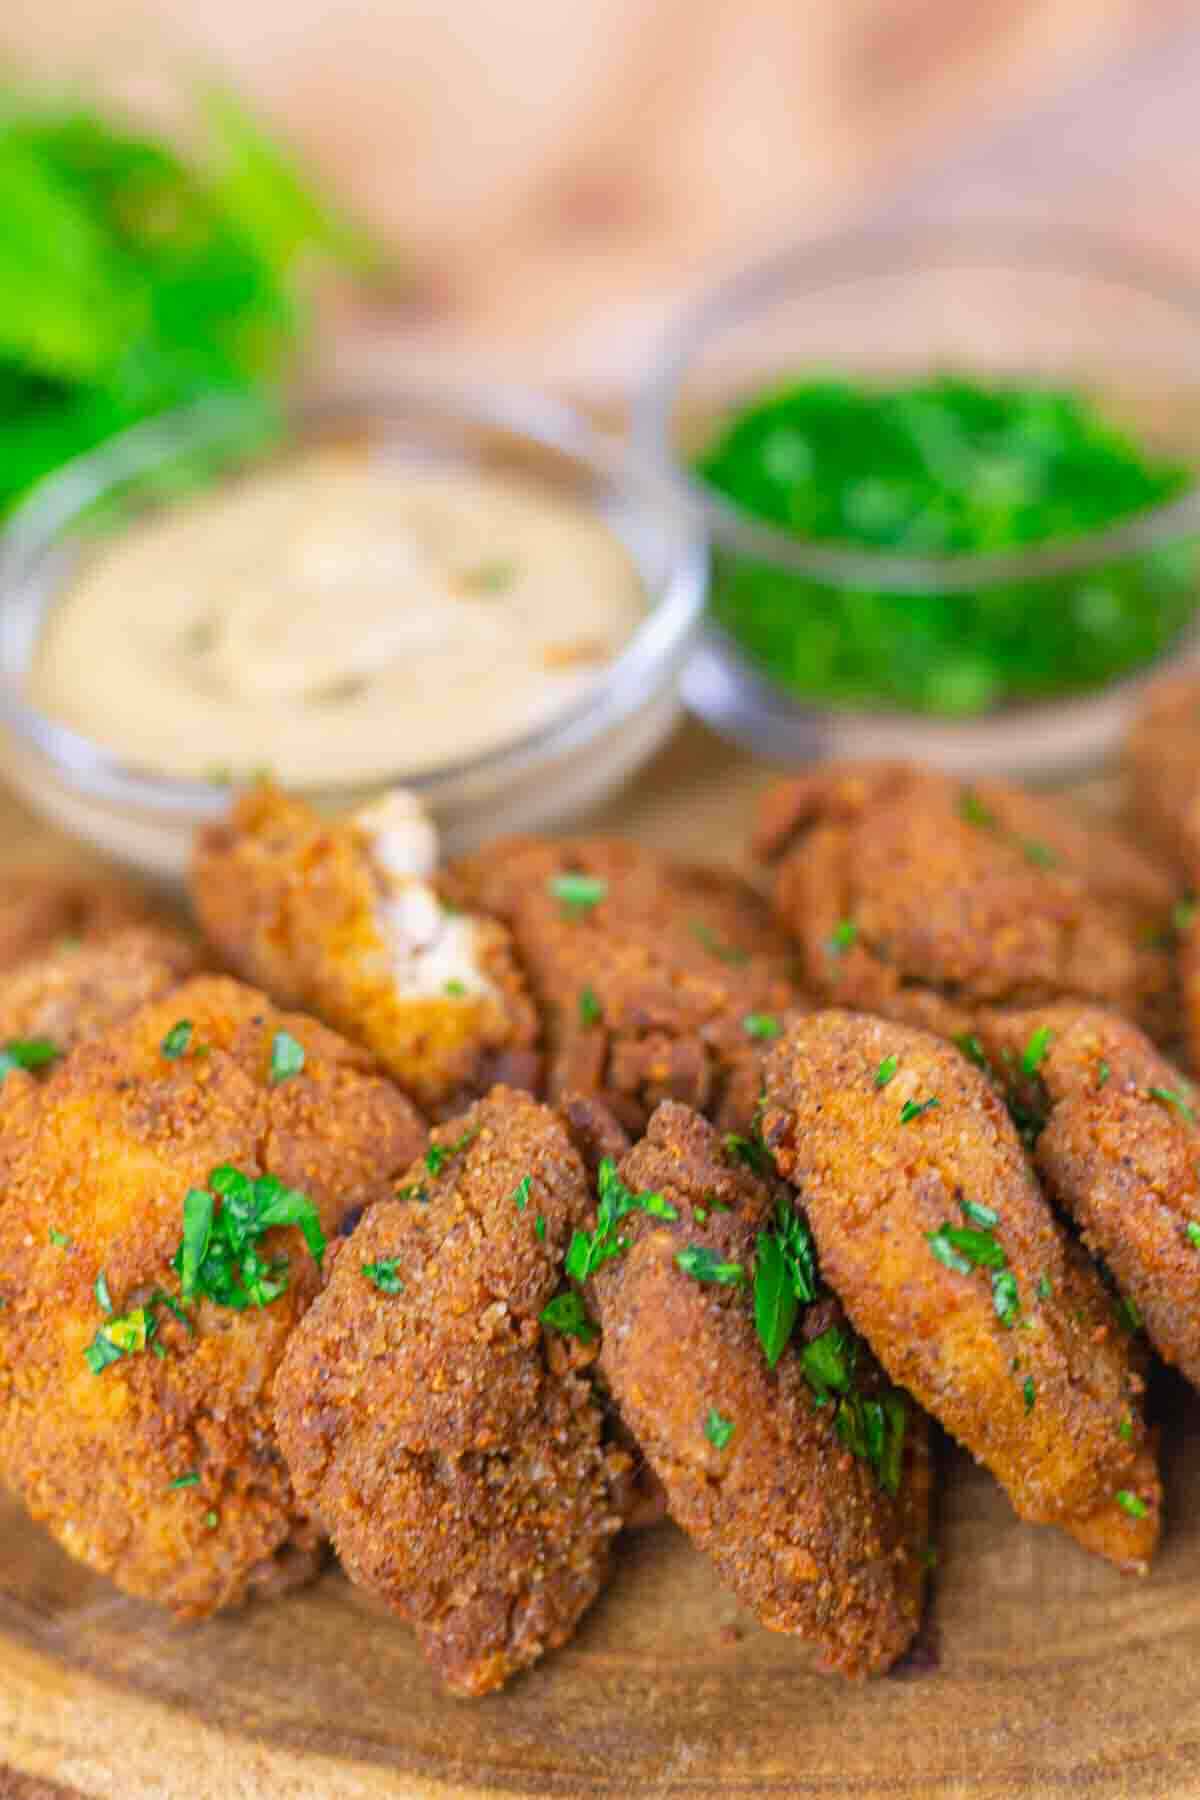
A golden, crackly crust can transform a basic dish into something craveable. But achieving that without a pot of bubbling oil? It’s easier than it sounds. From high-heat roasting to panko tricks and clever ways to banish moisture, here’s how to make anything crispy without deep frying.
With a few smart shifts in prep and a better handle on heat and texture, crispiness becomes less about guesswork and more about repeatable results. It’s the approach for anyone chasing that deep-fried look and taste, minus the deep fryer.

Why Moisture Is the Enemy of Crispiness
Moisture is the primary obstacle to achieving crispiness, and it’s often the reason why things turn out limp instead of crisp. Excess water on the surface of food, like fries, chicken and tofu, prevents that essential browning reaction from happening properly. It creates steam instead of sizzle, which softens the texture and dulls the flavor.
That’s why moisture management doesn’t stop at just patting food dry; it also extends to how it’s stored before cooking. Some cooks let sliced vegetables or marinated proteins rest uncovered in the fridge for an hour or two to reduce moisture naturally. The cool, dry environment helps draw out surface moisture while firming up the exterior, which makes browning more effective.
What Makes Air Fryers So Effective for Crisping
Air fryers use fast-moving hot air to create a crisp surface, much like a convection oven, but smaller and faster. They do especially well with foods like chicken fries, zucchini bites with chicken, mushrooms, and breaded snacks.
Because the basket lifts food up, air reaches every surface, which speeds up cooking and texture-building. The key is to avoid overcrowding, as too much food blocks air circulation and leads to uneven results.
When and Why to Use the Broiler for Extra Crisp
The broiler acts like an upside-down grill, delivering intense, direct heat from above. It’s often overlooked, but it’s one of the most efficient tools for crisping up the top layer of food.
It’s especially useful for finishing dishes that have already been baked or roasted, like when you want to re-crisp a breadcrumb topping, melt cheese with a bit of color or revive roasted vegetables with a little edge. A minute or two under the broiler can tighten up breading, darken edges or add that final caramelized touch.
The key is to keep a close eye on it. Because of the concentrated heat, things can go from golden to burnt quickly. Using the broiler is less about timing and more about watching for that perfect visual cue, like bubbling, browning and just the right amount of char.
How to Use the Oven to Make Food Crispy
The oven might not seem flashy, but it’s one of the most reliable tools for building crispiness at home. If you’ve ever wondered why your roasted potatoes fall flat, these tips will help set things right.
Preheat the Pan First
When food hits a hot surface, it sizzles immediately, and that’s where the crust starts to build. Preheating the baking sheet in the oven means you’re giving your ingredients a head start on texture. This works especially well for things like potato wedges or breaded cutlets, which benefit from fast browning and less time steaming.
Use a Wire Rack for Airflow
If food sits flat on a baking sheet, the bottom steams while the top crisps. That imbalance can ruin texture fast. A wire rack solves this by lifting the food, allowing hot air to move around all sides.
It’s especially helpful for things like breaded tofu, oven-fried chicken or even roasted vegetables that need an even crunch without being flipped over and over. Because the rack keeps them elevated, the bottoms stay dry and exposed to heat, instead of absorbing moisture or sticking to a pan.
Crank the Heat
High heat, usually 425°F and up, is what triggers the Maillard reaction, which is the chemical process behind browning and that deep, savory flavor. The key is to roast quickly without drying out the interior. Thicker cuts can handle longer exposure, but for delicate items like zucchini chips or thin chicken tenders, timing is everything.
Choosing the Right Coatings
What you coat your food with and how you apply it can make or break the crunch. Explore how to build texture from the outside in, using smart ingredient choices that hold up in the oven.
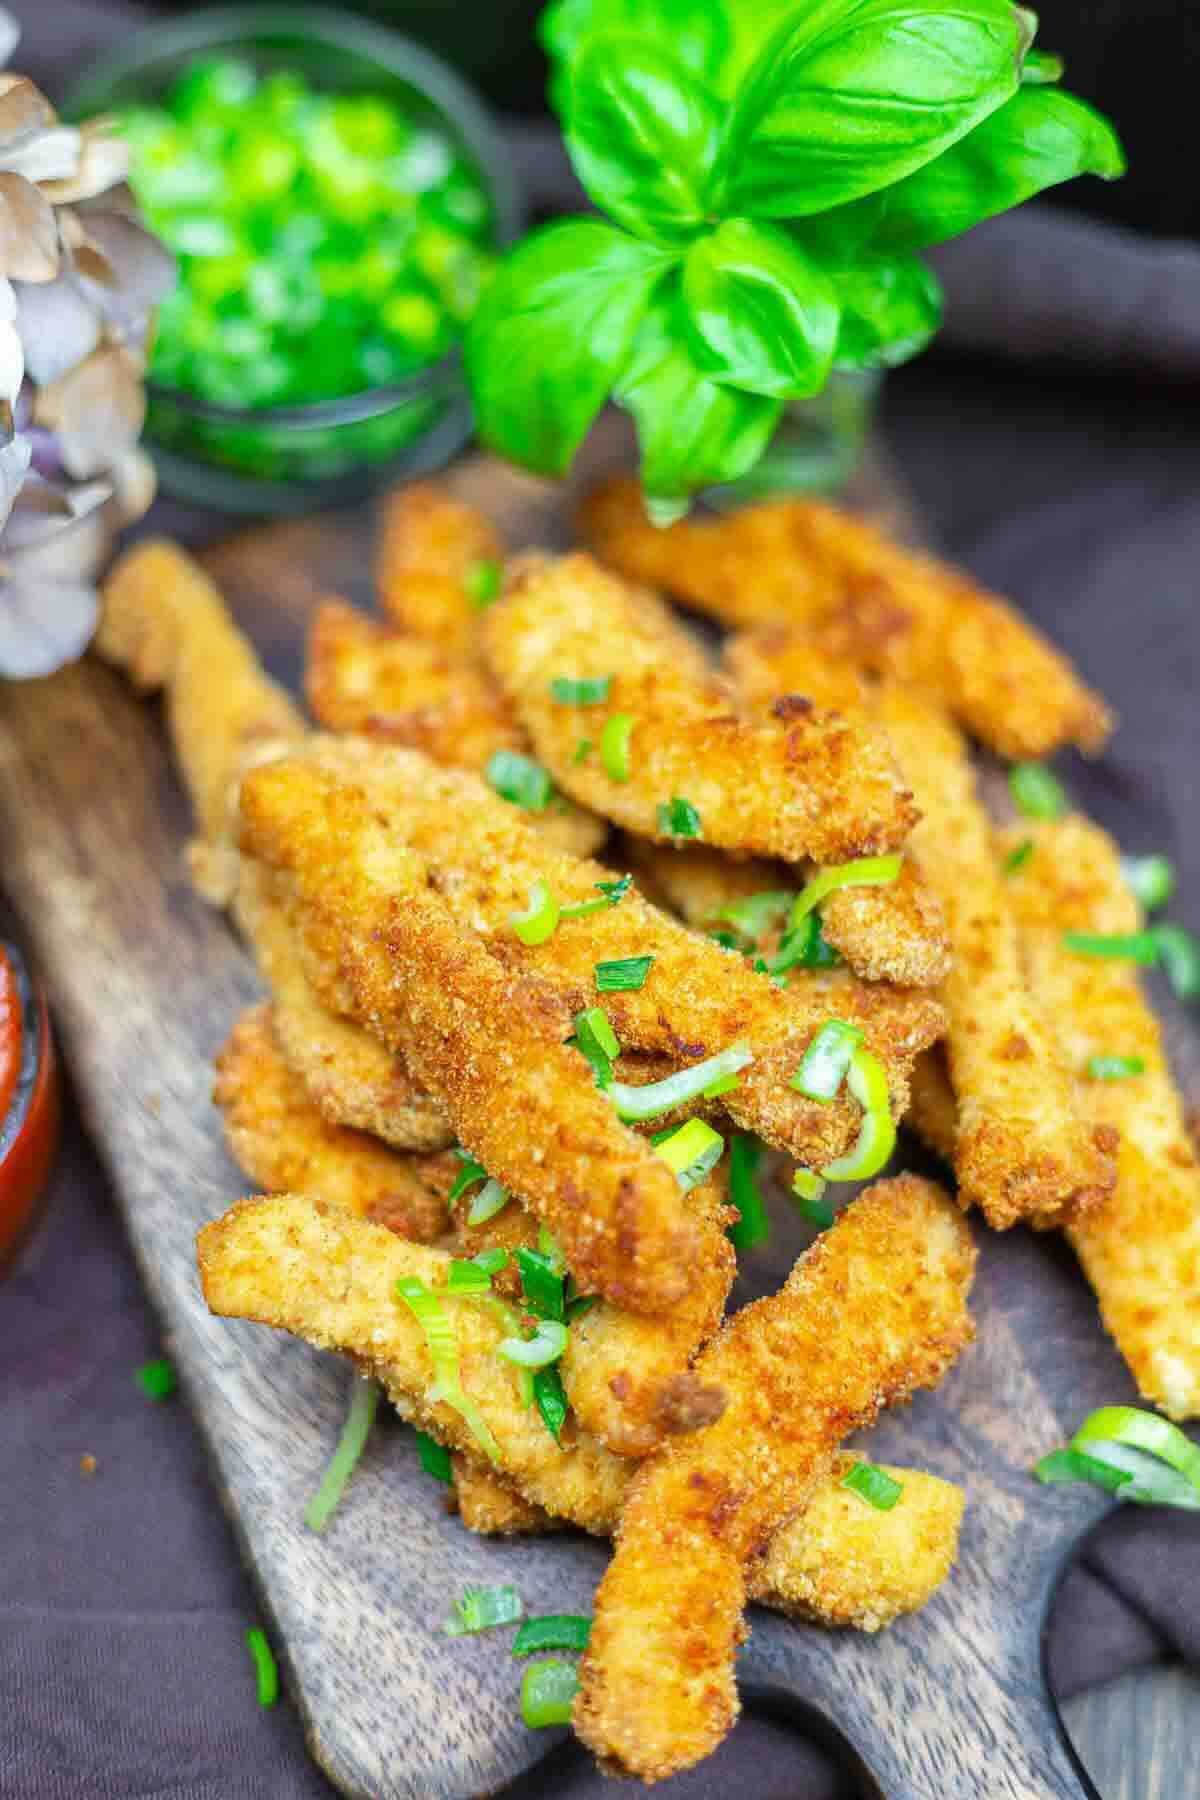
Use Panko for Light, Lasting Crunch
Panko breadcrumbs are light and flaky, creating more surface area and staying crisp after baking. Unlike traditional breadcrumbs, panko doesn’t absorb as much moisture, so it stays crunchy even after sitting for a bit. It’s a great option for everything, from Brussels sprouts to green fried tomatoes.
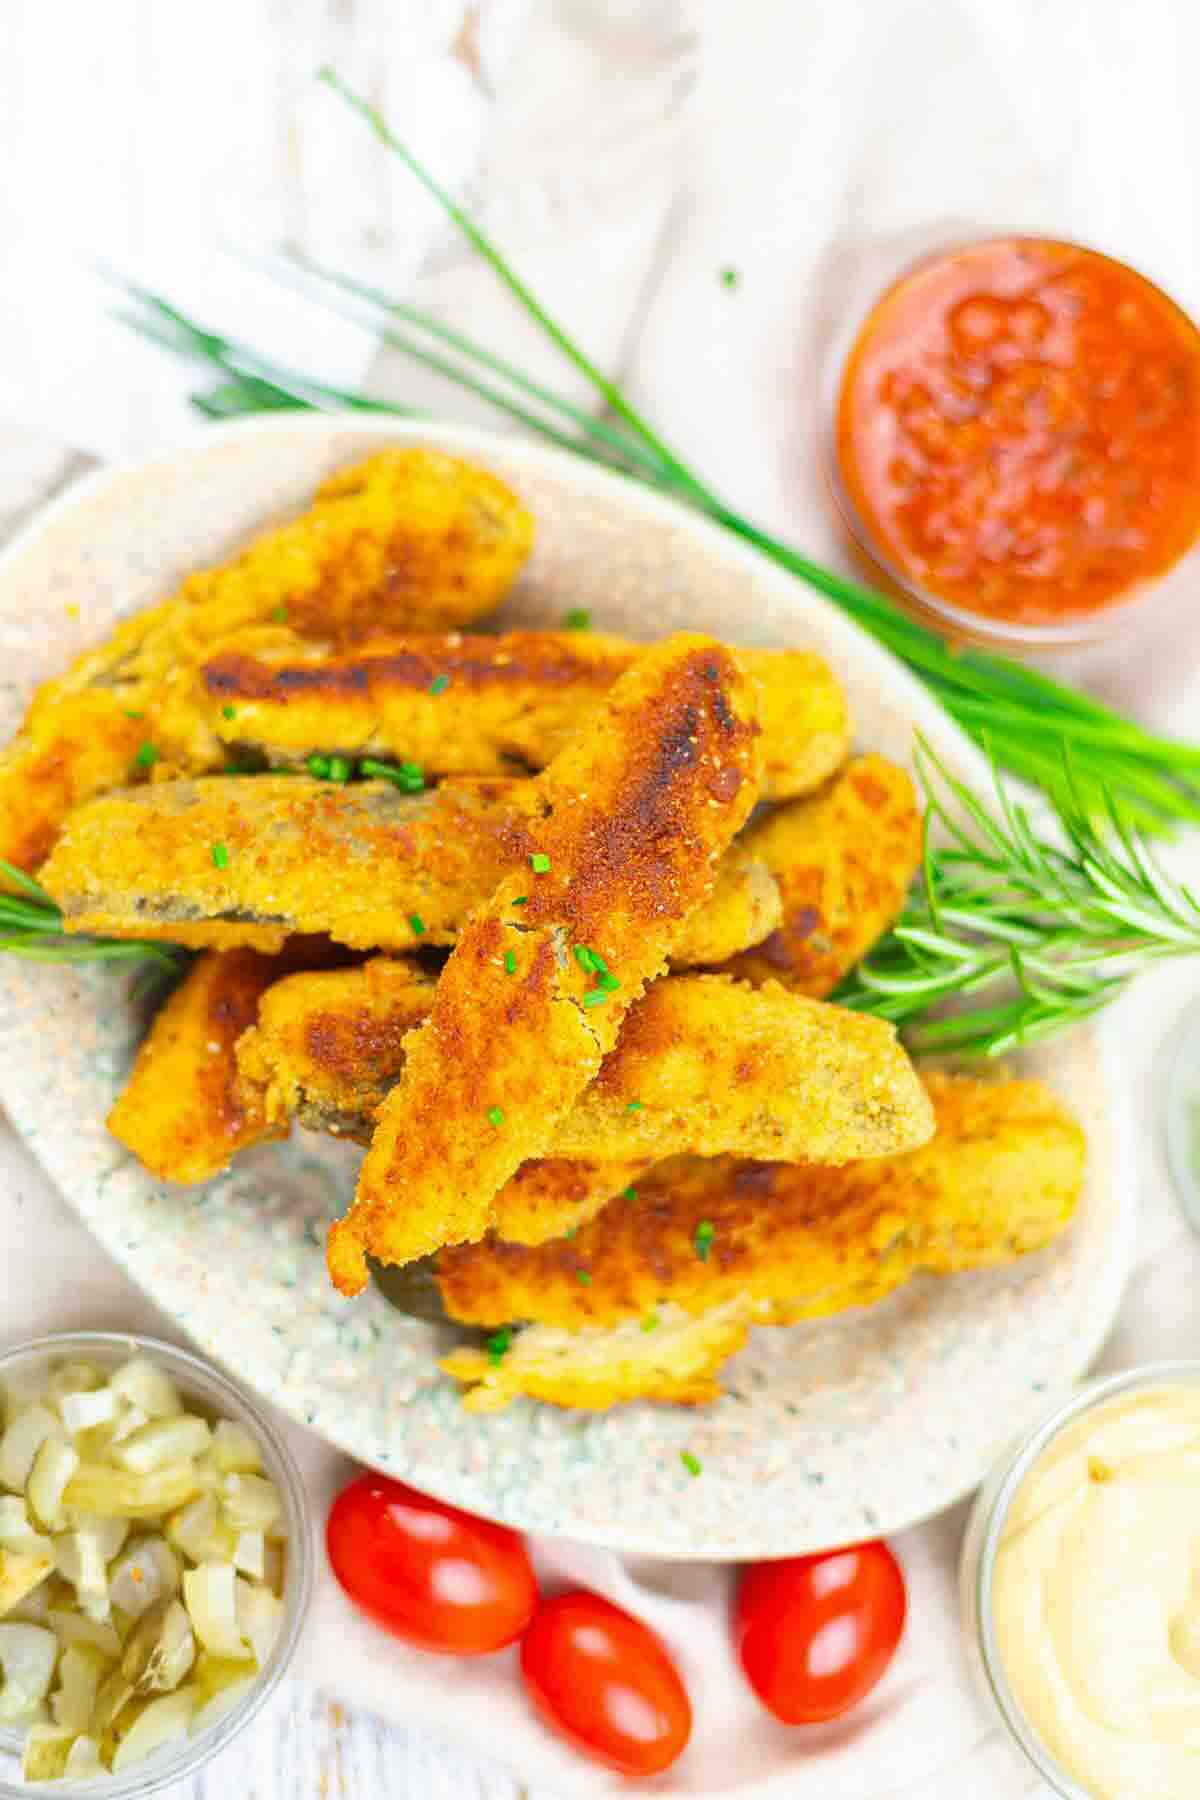
Try Gluten-Free Alternatives That Crisp Up
For a gluten-free coating, rice flour, cornstarch or even crushed cornflakes offer solid alternatives. Each brings a different texture, as cornstarch gives a thin, glassy crisp while cornflakes add rugged crunch. They also brown nicely and pair well with savory spices or marinades.
Don’t Skip the Binding Step
Brushing ingredients lightly with oil or an egg wash before coating helps bind everything together and encourages browning. Without it, coatings can slip off or stay pale. This small step makes a big difference in how well the coating adheres and crisps in the oven.
Why Crunch Doesn’t Have to Mean Deep Frying
Grease and deep fryers aren’t the only route to that golden, satisfying crunch. Home cooks are finding new ways to get crisp textures using smarter, cleaner methods. By removing moisture, boosting airflow and leaning on coatings that actually work, it’s possible to skip the oil and still get results that feel indulgent.
Pin Now and Savor Later

Need Support or have Questions? Join us on Facebook.
Follow us on Pinterest, Instagram, TikTok, Flipboard, or YouTube.
For weekly New Recipes and a FREE E-Book get into our NEWSLETTER.